6 results
6 results
HyperDrive Dual Monitor Hubs for Apple Silicon MacBook
FAQs
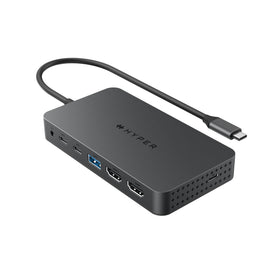
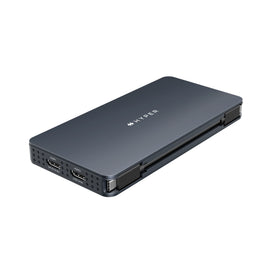
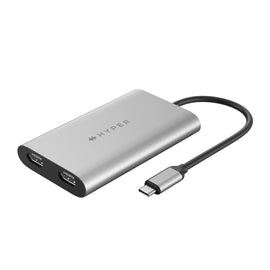
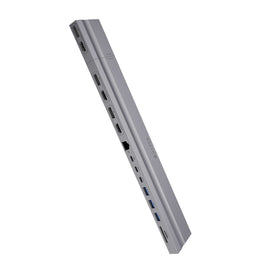
The HyperDrive MacBook Dual Monitor Hub is designed to allow MacBook users to connect two external monitors seamlessly. Depending on the model, the hub supports resolutions up to dual 4K at 60Hz or even a single 5K display, delivering crisp, high-quality visuals. This is particularly useful for professionals who need more screen real estate for multitasking, editing, coding, or gaming. The dual-monitor functionality simplifies extending or mirroring your MacBook's display across multiple screens.
The HyperDrive USB-C hub for MacBook and Air is compatible with modern Apple Silicon MacBook models (M1, M2, M3, and M4). Hyper provides detailed compatibility guides to ensure that users know what configurations work with their specific devices. It's always a good idea to check your MacBook model's specifications and compatibility with the hub before purchasing.
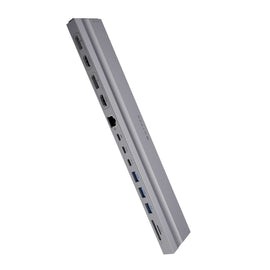
In addition to supporting dual monitor output, the HyperDrive MacBook Docking Station offers a range of other ports for enhanced connectivity. These can include USB-A ports for connecting legacy devices, SD and microSD card readers for quick media transfers, Gigabit Ethernet for reliable internet, and additional USB-C ports for pass-through charging. These added ports make the hub a versatile tool that minimizes the need for multiple dongles and adapters, streamlining your workflow and keeping your setup organized.
Yes, the HyperDrive MacBook Dual Monitor Hub supports pass-through charging, allowing you to charge your MacBook while using the hub. Many models offer up to 85 to 100W of Power Delivery (PD), which is sufficient for charging most MacBook Pro and MacBook Air models at full speed. This means you can keep your MacBook powered up while connected to external monitors and multiple peripherals, ensuring uninterrupted productivity without the hassle of plugging in additional chargers.
Setting up dual monitors with an Apple docking station for MacBook is simple. First, connect the HyperDrive MacBook Dual Monitor Hub to your MacBook via the Thunderbolt or USB-C port. Then, plug your external monitors into the appropriate HDMI, DisplayPort, or USB-C video output ports on the hub. You can manage the display settings from your MacBook’s System Preferences under "Displays," where you can choose to extend, mirror, or arrange your monitors as needed. Hyper’s plug-and-play functionality makes it easy to configure multiple monitors without additional software.

